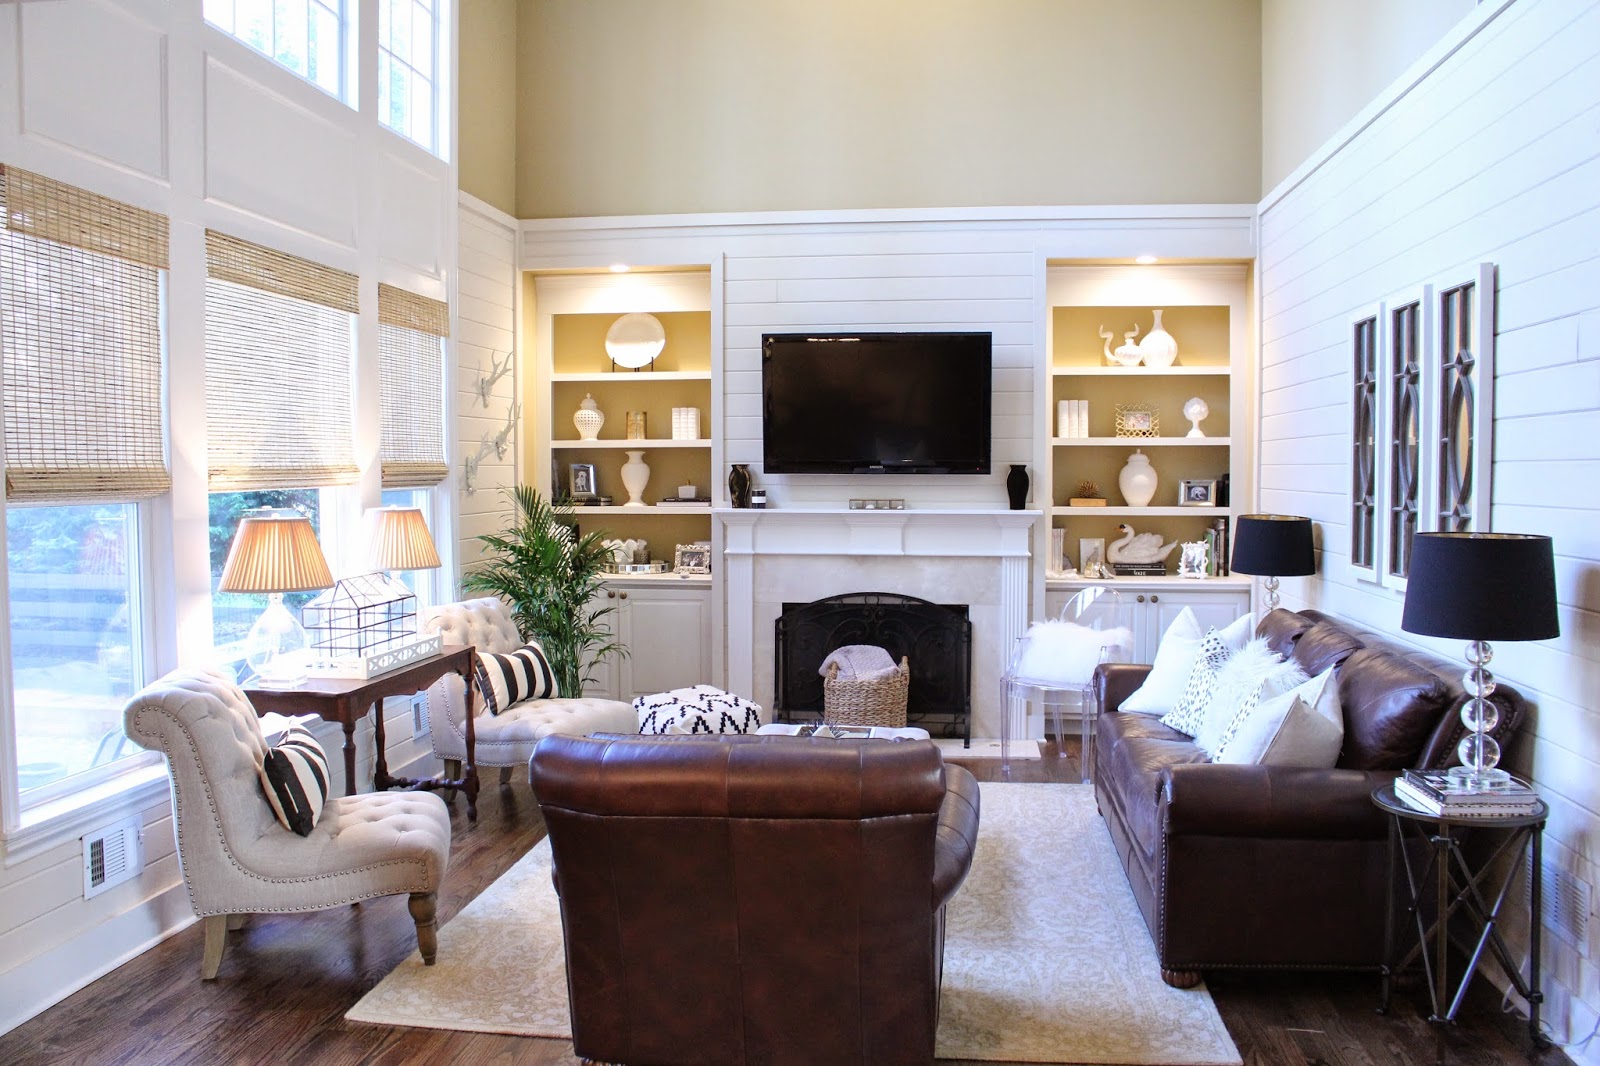
Showing posts with label home. Show all posts

Nursery Update 1... PAINT and Tips

Finally, a nursery update! So y'all have probably noticed that there hasn't been a whole lot of regular home-bloggin' going on around here, but it's mainly because where our home is concerned, the main focus has been on getting the nursery all ready for our baby girl.

Last we spoke about this space, we had removed the bunk bed that was built in (and taking up a lot of space).


Seriously it's deceiving how much space this was taking up. So we removed it and it really opened up the room.

We were left with lots of unevenness in the sheetrock where the bed connected to the walls, some huge anchoring bolts sticking out of the wall that literally broke off as Brad removed pieces of the bed, and lots of paint to touch up.

So Brad sawed off the bolts with a Dremel tool and patched and sanded the walls.  Only thing left to do was choose a paint color.

 We thought about using the existing paint color (I was pretty sure I knew what it was), but the more I looked at it, the more I wasn't too thrilled with how yellow-beige it looked against all the stark white trim, especially since I'd be bringing in some pink tones to the room. I just thought it wouldn't look quite right.  The issue with choosing a color was that it would have to be something that we could continue along the ceiling as well like the old color did. If we had just painted to the ceiling, the existing color on the ceiling would have really looked beige and out of place.  The room has a pitched ceiling in certain places too, so I didn't want to just slap up some white paint on the ceiling and then do a stripe of color just on the walls above the bead board. I felt like it would be pretty choppy-looking.

So I knew we'd have to choose a shade that was a bit light and bright so it wouldn't look too enclosing continued all over the ceiling as well. Because of all the stark white trim in there on the bead board, it made it easier to pull off a lighter and brighter color without looking too plain because all the tones show up against the stark white.
Sounds a bit confusing, but stick with me...

So I chose a shade technically in the "white" color family, but with a lot of pink tones.  The color is Marshmallow by Sherwin Williams.

This was taken when the paint was still a bit wet, so you can see a bit of it drying still on the ceiling.


I remembered this shade because I had considered it for our foyer but ultimately ruled it out because it read very pink compared to other whites with different tones. So I knew it would be pretty perfect for our gal's room. We really love how it came out.

This was Brad's first painting adventure solo. He did such an amazing job (and was so happy when it was all done).

Funny because if you painted this shade in a regular room with no stark white trim (like the large area of bead board on the wall) it wouldn't read as pink. I've seen photos of this color used throughout entire homes! It's just crazy how different whites can be.  Anyone that has seen the nursery in person has commented on what a pretty soft pink it is.

While I'm no painting expert (and while Brad did amazing considering it was his first go-round doing a whole room by himself), we do have some tips to share (if you've followed for a while, you know I've painted almost every room in our homes). These were the main ones I passed on to Brad when he began painting the nursery:


  • Don't waste money on plastic paint tray liners! Buy a metal paint tray once, and cover it with heavy duty aluminum foil before pouring paint in. Easy clean-up, and you can re-use the (clean) metal paint tray indefinitely.
  • Skip painter's tape if you have a steady hand and go around all the trim, doorways, corners, ceiling, etc. with an angled brush first, then use a roller to fill-in.  This is just the basic way to paint and it works. Saves time, tape, and your sanity.  If you've ever taped-off an entire room, you know what I mean.
  • When you use the roller, roll suuuuper sloooooow. Seriously ridiculously slow. Even if you don't think you're dripping anything, you'll leave tiny micro-splatters (totally a legit thing) all over the room and yourself.
  • Drop cloths and broken-down cardboard boxes are your friend. You can lay out all your paint supplies on the flattened cardboard box and move it all around the room wherever you need it. And drop cloths... just use them to cover nice things you don't want to remove.


So the moral of this story is that we're really happy with the paint, and to also never overlook colors in the white family for rooms. They can be pretty perfect when you don't want the focus of a room to be the walls, but still want to complement the tones in the decor you're going to add. One in the perfect tone can change the whole feel of the room without being so "in your face".

So as I've mentioned in many of my pregnancy vlogs, the nursery has come a lot farther than this! While it's still kind of a mess (no super pretty after photos in this one, sorry!), there's a lot more progress to share like lighting, window treatments, the crib (!), etc. So I'll definitely keep you updated on our progress in the coming weeks!

As always, thank you all for being so happy for us and so supportive as we share this special time with you all. It's obviously a huge part of our life right now and we couldn't be happier to be experiencing all of it and being able to share it!

Nursery update and some changes in the basement

Hi, it's a home post. Did you miss me??

I know... It's been a ridiculously long time since I did a home post on here! Granted, the last one was kind of a doozie. If I were thinking straight, I probably could've stretched that out in to at least three posts, but oh well.

Anyway, as you guys know, I've been a bit preoccupied lately with all things baby on the brain.  I just haven't really done many new things to the house! Of course, we've cleaned out the nursery (LOVE being able to call it that now, by the way) and a few things have been added (gifts, random purchases, etc), but nothing is in place yet. Think of it as more of a "baby stuff storage" room as of right now. Of course we've got some big plans!
What's holding me back from really starting to begin to put things in place are the walls. You may remember in the whole post about us tearing out the built-in bunk bed in there, the walls were a bit sketchy afterwards. Think broken off bolts and uneven areas that need to be heavily spackled. Oh and the whole thing (ceiling included) needs a fresh coat of paint.

You guys know I love to paint. I've almost painted every room in this whole house (and our last one). I've gotten really good at it and can do it fairly quickly.  It's therapeutic to me. But being pregnant, it hasn't really been something I've been comfortable doing, just because of the fumes. It's just something unnecessary that I don't have to do now. I know there are "safe" formulas out there, but Brad is really insisting that he do it. So he's promised me that sometime in August he's going to get it all done.  I'm excited about starting to actually get things going in there! Of course, I'll share all the updates with you all here and on my pregnancy vlogs on my YouTube channel as it all comes together.

So I've really missed doing these home posts. When I started thinking about what the heck I could even post on, I realized that we've actually made a pretty big change in the basement. Is it super pretty or creative change? Not really. But it's probably one of the most functional changes we've made here.

Remember the big empty room in the basement (that stayed empty for a year)?


Well, almost empty. ;)

It's a massive room. With no windows. So it was kind of difficult to figure out what to do with it. We already have a media room down there, a living room-ish area, and a bar/table area. So we were originally thinking maybe a game room? We thought of getting a pool table. Because that's what typically ends up in a basement. But the basement is really Brad's domain. His games are more of the XBox/Playstation variety. Again, media room...he's got that already covered. Plus, there's still room in another room down there for a game table of some kind if we ever wanted it. So we just couldn't make a decision on anything because we didn't want to make a mistake in the biggest room down there and possibly turn it into a huge waste of space that we never used.  We really wanted it to be functional.

Since we moved in, Brad had been using our big unfinished storage room (in the photo above, the little door on the right wall next to that white air return leads right into it) as his makeshift "gym". I never went in there because, well, bugs.  Seriously where do all those tiny hair-like spiders come from in basements? Where do they come from????

So we had sort of a "well duh" moment and decided to make it into a full-on home gym about 4 or 5 months ago. It's something useful, good for us, and it'll actually save us money in gym memberships over time. Brad seriously uses it every single day. I'm not on such a strict schedule, and I don't use his big crazy weights, but I love my elliptical (and my lil row of tiny weights on the bottom of the rack).

It's nowhere near being finished, but it's functional for now!


This is definitely more of the "starting point" for this room. We need to get some mirrors on the walls professionally installed and figure out a different flooring solution because the current situation isn't cutting it. We knew we needed some sort of flooring for the equipment to protect the floors.  So we majorly cheaped out with these puzzle piece gym mats that I would definitely never recommend to anyone... haha. For several reasons. First off, it looks really uneven. Second, each pack you buy are totally different colors and never fit together properly. They're also not as heavy-duty as we'd like (they're starting to dent and tear in places). So while these work for now, we're definitely going to get something better down the line. The little blue thing is my yoga mat.

Here's a shot of the whole room...


That photo is totally deceiving and makes the room look really small. Check out how much space we have below for even more equipment! It's a really long room.


Pay no attention to the chair and mirror. That has become a little storage corner. I think I'm going to move the chair to another room down there. I really like it, but I've never found the perfect spot for it.  The mirror needs to finally go up somewhere too.

I want to get a little shelf for our shoes that we leave down there to go in the spot where the chair is maybe? We don't keep towels in there because there is a full bathroom around the corner that really comes in handy close by.

So like I said, the room is far from finished and not especially attractive at the moment. Brad has a list of things he wants for the room, but here are some of the things we eventually want to address...

  • new, more sturdy weight bench
  • some sort of leg machine and some other kind of machine...haha (I'm not as down with the gym equipment lingo as Brad is)
  • partially mirror the walls
  • replace the gym flooring mats with something more solid and heavy-duty
  • maybe add some french doors to the opening to the room (beside the elliptical) to add some separation from the living/rec area

So basically, nothing super creative home-wise has been going on around here lately.  But we feel like we really added a ton of function!  

Right now, while that room is definitely a work in progress (like many spaces around here), I've got some plans for our bedroom, lots more to do in the basement, my office, and some furniture switch-a-roos. Plus, lots of long-term plans for the kitchen. There's still so much to do around here and share! Oh and the nursery! Can't forget that! ;) I'll keep you posted!


More Shade... and Some Family Room Updates!

Well last night we finished hanging the rest of the bamboo shades in the family room and kitchen.


In last week's decor post (if you're new here, I throw in at least one home decor post a week), I updated you all on our dining room... the first room we converted from regular old white blinds to bamboo shades.

Well since we needed some custom sizes for one of the large family room windows and for the window above the sink, I searched the internet for affordable custom bamboo shades (which was kind of a joke considering most sites that claimed to be "affordable" would have charged upwards of at least $400 total for six more shades we needed).  I found the holy grail of bamboo shades, y'all. Seriously.

Overstock, you are my bro for life.


I went with these, mostly in the 74" length for most of our windows (with the exception of the kitchen sink window, which I got in a 54" length).  
I'm kind of obsessed with how you can select the exact size (width) you need, down to the inch for each and every window.


Oh, hi disgusting fan blade... Calling an electrician soon to swap it out for something lovely! So naturally, I gave up on cleaning it.

Total, I spent around $160.  I had a 15% off code AND they were on sale!  But even without all that, they're so much cheaper than similar alternatives.

I think bamboo shades add a lot more to a room than standard white blinds. They add some texture and a more custom feel, I think. And yes, now those family room windows are screaming for some drapery. I actually ordered some a few days ago and I cannot wait to get them! I'll keep you posted...


Like I mentioned in my previous post about these, our backyard is very private, so we went with the unlined version. At night, you can see lights inside, but no real details.  Because of that whole privacy factor, we won't be adding these to the front of the house (especially since the front of the house has nicer, wide wooden white blinds already).


Did you notice a few other little changes??


How sweet is that little terrarium? He's actually pretty fancy... We found him at a local furniture and decor consignment shop over the weekend.  I've seen pretty terrariums (half this size) go for at least $50.  We scored this guy for $20.

I also switched up the lamps to some that I purchased from Target years back.  They were chillin' with some el cheapo-looking plain white drum shades in storage (that I believe came free with some old lamps I got from Homegoods a while back), so I ordered these pleated fabric beauties from Amazon.  I feel like they add even more texture to the room and look a bit more traditional and luxe. I like to mix it up...

Back to the terrarium... I want to put some pretty pink flowers within it. Or maybe just some pretty greenery.

Oh and did you notice another change??


Yep, I painted the back door black (I used black onyx in a high gloss by Glidden). The old plastic blinds that were there before were hiding such a beautiful door! I think the new little terrarium plays off of it well and the whole door itself sort of goes with the French doors in the foyer that lead into my office/sitting room.


Here's a better shot of the lamps...


 And one more shot of the kitchen blinds...


Pretty obsessed with these. I'm absolutely loving how this area of the house has really come together over the last few weeks with just a few new additions. What do you all think? I can't wait to get the drapery up!

Have a wonderful weekend!!

Some master bedroom details & decor ideas

There are a few areas of the house that haven't gotten much posting love on the blog. Our master bedroom is one of them.
Strange I haven't posted about it much because it's actually one of my favorite spaces.


It just makes me feel good.

When we moved in to our new house about a year ago, we kept all the same bedroom furniture, decor, bedding, etc.  I LOVE a comfortable white bedroom (with some contrast, of course). To me, it just feels more comfortable and calming, and I like the versatility. I hate limiting or defining a room with expensive items you can't easily change.

For example, bedding or a wall color. I like to splurge on nicer bedding (you use it everyday) in a neutral, so I can change up the whole feel of the room whenever I like with some pillows or a throw in a fun pattern or color. So I like to have one good bedding set that I like, rather than spending a fortune on a lot of colorful or patterned bedding to change out all the time.  Same thoughts with a wall color-- If the room was blue, what would happen when I wanted to go a different route with accessories? It can just be limiting in a larger space with a lot of accessories.


So for our bedroom I like light, bright, and a bit glam. I love how easily the whole feel of the room can change with the swap of some easy accessories.   


Propping some large mirrors up on the side tables is one of my favorite tricks to make a room look a bit larger and add some sparkle. These are the same ones we had for years at our last house (set up the exact same way) and they worked out perfectly here as well since there are no windows on that back wall behind the bed.

The space itself is a lot larger than the bedroom at our last house, but it's layout is exactly the same. Same window wall, same spot where the bathroom doorway and main doorways are.  So setting it up was a no-brainer.

I WISH I would've grabbed some before shots months ago, but this wall below was completely a mess the first 8 months or so that we had lived here.
Imagine it with no chairs, the same dresser, and a large, tall, chest of drawers over near the corner. We had the tv on top of the taller chest.


Gotta love the Beverly Hills Housewives. ;)

It felt like SO much furniture. So we moved the tall chest into the back of Brad's closet since it's plenty big enough, and the chest is full of Brad's stuff anyway. So it being in his closet makes sense and freed up a ton of space in here.

Turns out we love the tv on the dresser so much better.  Before the bedroom-tv-police cite me, we're bedroom tv people and we love it. We don't sleep with it on or anything, but to me, there's nothing better than relaxing in bed with a movie every now and then. I've never understood the bedroom tv hate. I mean, you can turn it off whenever you want. It doesn't control itself...haha.  
Like I always say, you should make your space into what feels good for you. That's the fun of decorating!

Another big change is the addition of these two chairs...


I love to have at least one area to sit in a bedroom that isn't the bed. I got these chairs from Target last year to go in our family room.  I didn't 'really love the color in there, so we moved them up here and they work perfectly. *They still have them and they're actually on sale now!

Here's a shot from the other direction...


We thought of adding a fun chandelier since the ceiling in here is so beautiful, but I don't think we could live without a ceiling fan in here.  Granted, it is a boob ceiling fan, so I may have to re-work that somehow in the future. ;)
Not such a big deal because we added the pretty chandelier in the bathroom which is closeby.


For more on the bathroom, check out this post.

Between the windows I recently added my preserved wedding bouquet. I posted a photo of it  a while back and got a ton of questions about it- Basically it's freeze-dried. There are a ton of places that preserve bouquets like this. You just get the flowers to them within a few days of the wedding and you'll have them to keep forever.


The little mirrors came in a set of three from Target.

As for the pillows...


The green ones are the same custom ones that I had specially made from fabric I chose.  Same idea with the spotted one in the middle (it's from Etsy). You may remember them from this recent post.  I've moved them around a million times since I got them (they look good everywhere), but I especially love the print mixed with the leafy green in the other pillows.
The little round black and white bolster is from Target (it's over 5 years old).

So that's it for this space for now! Just wanted to share a bit of the changes we had made in here that made such a huge difference and show you what I've done with this space so far! What are your favorite stores to find unique pillows??

reference:
paint color: Sherwin Williams China Doll
chairs: Target
pillow: Etsy
bedspread: Macy's (We've had ours for 3 years and it's held up great! Plus it's on sale now!)
"window" mirrors: Ballard outlet
sunburst mirror: Kirkland's
lamps: Target
set of 3 square mirrors: Target
"madame" & "monsieur" pillows: Ballard outlet
curtains: Half Price Drapes


post contains affiliate links

A Southern Blue Porch Ceiling...

Consider this sort of a "part 1" to our screened-in porch "freshening-up".  :)

When we first looked at this house one year ago, this brand new back porch was definitely one of our favorite features.


I cannot WAIT until everything greens up again and the trees fill in like that soon!

That shot was taken shortly after we moved in last Spring. We used all of the same patio furniture from our last house (from Target- It's held up SUPER well for 4 years), and a glass table that my parents gave to us that they didn't need.  We used all of the same cushions (more on that in a moment), little lanterns, etc.  The porch has pretty much looked exactly like that since the day we moved in.

Waylon loves it too...


See what I mean about the trees?? Not so pretty in the winter... :/
One of my favorite parts about it is the pretty bead board ceiling. I had always dreamed of painting it a pretty "haint" blue (very common on older historic homes in the south).  
To get an idea, check out these photos here, here, and here. ...and if you want more, Pinterest has got you covered.

There's a whole southern backstory to the whole "haint blue ceiling" thing, and it mostly involves warding off evil spirits and mosquitos. Basically those two are one and the same in the south. If you've ever lived through a Georgia summer, you know what I mean. ;)

I'm not at all superstitious, and I'm not sure I buy the whole thing about it keeping bugs away, but I'm just pretty much in love with the way they look. 

And so our porch ceiling went blue.


Let me just tell you, it is not easy to capture the color of this bad boy on camera. It's a lot brighter and clearer blue than these show.

I used "Atmospheric" by Sherwin Williams in a high gloss formula (which is also why it's a bit hard to capture the true color because it's so reflective and pretty).  In person, it matches closest to how this ceiling appears. I would guess that's the shade they used as well. My parents just recently painted their new porch ceiling this same shade and my mom said that this was the color most often used to paint blue porch ceilings with from the info that she had found.

It's bright and beautiful and mimics the color of the sky perfectly.


The actual painting was a bit difficult. I just hate painting ceilings, period. I actually used painter's tape for this one since we have pretty moulding around the actual ceiling. So I taped that off and covered everything (even most of the floor) with drop cloths.  I didn't do that so much for drips (because I'm used to painting with a roller), but because rollers inevitably leave tiny "splatter" marks on flooring that you may not even notice right away. Hundreds of them. So it's best to be safe!

Here is a shot from the other side. The natural-colored wicker furniture was left from the previous owners. Which worked out perfectly because it's a large space and it was nice not having to buy extra furniture to go with the stuff we already had...


...Which brings me to why I referred to the new ceiling as "part 1" to this redo.  The furniture is in awesome shape and is made quite nicely. However, they didn't have any cushions, so I added my pretty  outdoor pillows I already had and used some mismatched large cushions to sit on that I found at Homegoods and TJ Maxx. I may eventually change those, but I think they'll look much better when I repaint the furniture. Before the pollen starts to fall this year (or I may just wait until after so I can clean it really really well), I'm planning on spraying the natural-colored furniture the same dark color as the rest of the furniture out here. After I do that, they should match pretty darn closely and everything should look a bit fresher and more cohesive.


I've owned outdoor pillows from several places, but all of my black and white ones have held up beautifully.  For three years they baked in the sun on the back porch of our last house and they've held up nicely for one year here as well. They still look brand new with zero fading which is super impressive.

I've even used them indoors for years.  I had some extra lumbar pillows and one extra square pillow I had in the basement that I used in our family room at our old house years back. Not sure why I didn't put them back out in there after we moved. That was always my favorite look for our family room (the black and white), so I put them out again recently.  All of these outdoor pillows I've shown are from Ballard Designs.


I love the look of mixing different black and white patterns. I'll do a post on this space soon!


Anyway, I love how the striped pillows are soft to the touch (unlike most "outdoor" pillows), yet I know they're super durable enough to last forever. It also works better in here because the stripes aren't too bold or wide, and rather than being stark black and white, they're black and a sand color.

Overall, while this was tricky (SO glad we have no other ceilings that need to be painted...), I'm so glad I went ahead and did it.  I feel like it made our house just a bit more unique and special. 

I'll update you guys when I spruce up the furniture out there.  I also want to maybe pick up a few ferns as Spring draws closer.

So do any of you guys have blue porch ceilings? What do you think about them?

A "Spa" Bathroom Re-do

Hello and Happy Friiiiiidaaaay! ...I'm a little excited it's the weekend. ;)

So today I'm FINALLY sharing with you all our paint update in our master bathroom. You may remember the pretty color I used in our laundry room redo, Benjamin Moore's Healing Aloe (see that post here).

Well that same week, I painted this room with that same color as well.


We really wanted a "spa-like", calming vibe in here.  Since moving in, we had only added the pretty chandelier.
Before I get ahead of myself, here's a before shot.


If you've followed my home posts here since we moved in to this house, you probably recognize the color on the walls...haha. Seriously, it was EVERYWHERE.

I've said it before but in some areas I love it (like our dining room and family room), some rooms... meh.  
In this room, it read very... ok, I'll just say it.... peepee.  Not a good look for a bathroom.

So I gave it a coat of my new favorite fresh, yet calming, aqua. While I actually painted the laundry room first with it, I bought the shade specifically for the bathroom. 
I'll admit, I'm pretty good at painting at this point. I've been painting rooms for years, but this one was trick-ay. It was definitely all the angles of the ceiling, moulding, and actual things against the walls. Like the shower and tub tile, doorways (there are four in this room), cabinets, mirrors, etc... Craziness.

But I'm super happy with how it turned out! It looks so much lighter and brighter now!


 On that back wall, Brad added two hooks for our towels, which this room was desperately in need of. For a year now (Can you believe we've been here that long??), we've been throwing our towels over the top of the shower, which wasn't working super well.

All the accessories are the same- the paint was essentially the only new thing we purchased for this little redo.  I've had the mirror for years now (from Kirklands), and the hooks are actually little curtain "tie back" hooks that we bought when we moved into our last home and never used. They work perfectly for towels!

The little door below on the right leads into the little "water closet" that houses the toilet. I mean if you've seen one toilet, you've seen them all, so I spared you.


Here's a shot of our double vanity area, which I love because it's really separated enough where we can spread out all of our individual things without sharing a countertop. It's the little things... ;)


My side has a nice little vanity area where I actually do my makeup a lot of days since the room gets awesome natural light.  You can see Brad's big closet through the door in the back. It runs from left to right the entire length of the whole bathroom. We've even got our massive chest of drawers in there on the back left wall with still a ton of room to spare. That closet also shares a wall with my my closet, which we're thinking about connecting in the future so I can get to it even easier.
Next to Brad's sink area is a little linen closet that is really handy.

Here's a shot of the other side of the room.


We've got some big plans for the tub and shower side of the room in the future. We've had some weird issues with the jacuzzi tub. By issues I mean it takes 30 minutes to fill and hours to clean. I'm kind of obsessive about it. To clean the thing you have to fill it past the jets (30 minutes), run a concoction of bleach-y, scrubby weirdness for 20 minutes, drain it, fill it again (30 more minutes) to run the jets for a rinse for another 20 minutes. I'm sorry, it's just a time-wasting hassle and a huge waste of water in my opinion. Sounds obsessive, but if you don't clean it that way, the water that inevitably settles in the jet tubing mildews and comes out in the bath. So you have to basically do that process before each use. 
Which is why I've used it once since we moved in. 

But seriously it is a BEAST. The whole thing is 7 feet long and protrudes out from the wall 4 3/4 feet. Photos don't do the size justice.

So the plan is to put a free standing tub in it's place. It will cut back about two feet worth of floor space (maybe more) rather than the huge tile wall that sticks out around it now. It should also give us some space to add a few more feet to the shower for a double shower.  Oh and we really want to replace the floors. So I'll keep you posted on that as we figure it out! Definitely won't be any time soon.

Here's some extra photos of some little details...


I LOVE the pocket door, but something in the wall when we slide it back leaves black marks all along the back side. So weird. But I took that photo to mainly show how much space that darn tub takes up. It's just all up on you when you walk into the room. So it's just fun to think about and plan for!

But for now, I'm super happy with the color and when we make any changes, I'll still use it!
I feel like the paint change really changed the entire feel of the room! What do you guys think??

As always, thanks for reading and have a wonderful weekend!!

rug- Pier 1 (similar)
ottoman- Overstock (similar)
mirrored tray- Target (similar)
little buddha- I found mine years ago at Homegoods (Pier1 has some similar things)


not a sponsored post
post contains affiliate links